

BONUS: Download your own 3D model of Rogerbot! Get the FBX (with color layers and a static pose) here.
1. It always starts with a search! I started by collecting Mozbot concept art in a big file. The goal was to understand all of Roger’s different incarnations, dimensions, and poses.
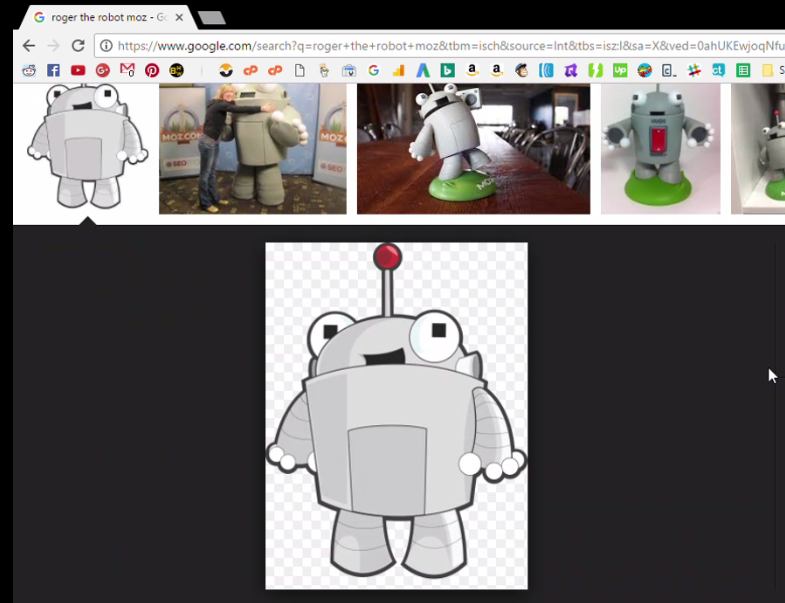
2. I then rendered a 2D frame in 3D. This helps in predicting what kinds of 3D objects (or shapes) will best be used to fill out an actual 3D model.
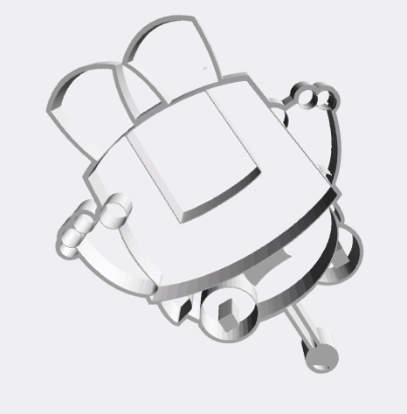
3. Next up was the modeling! Fast forwarding quite a bit, I ended up with a great 3D model and a nice matte finish.
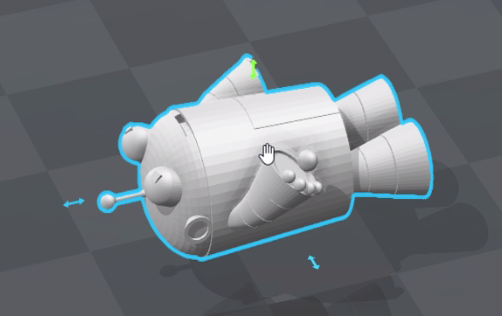
4. Once I had a base model, it was time for the truly excruciating part: painting all the different planes, bit by bit.
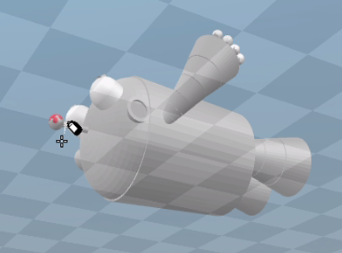
5. Now we’re getting somewhere! With an (almost) T-positioned 3D model in full color, I packaged things up as an FBX and framed the model.
6. Party time. With a framed character, the next step was source the best dance animations I could find, then tie + tweak them until Roger was really getting down.
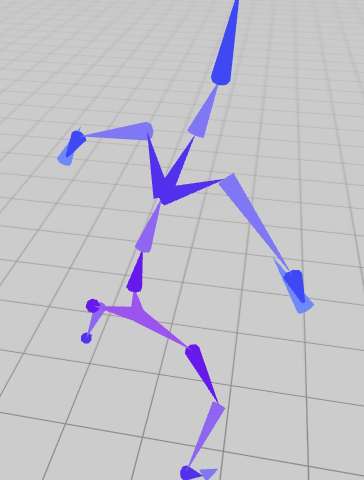
Roger’s pointy antenna, lack of chin, and thick arms made dealing with clipping a really fun challenge!
7. Using Sketchfab, I transported my dancing robot off of the square grid and into a beautiful universe of warm lighting and poppy backgrounds.
8. At this point, I put on my director’s cap and began capturing Roger’s moves. After several hours of framing, editing, and rhythm-matching a dope Rick Ross-inspired track, voila! We’ve got a movie!
Regardless of the MozCon 2017 Contest results, I had a blast making this. If any of you Mozzers want to get in touch, email me at n [at] nate.life or tweet me at @nateonawalk!